
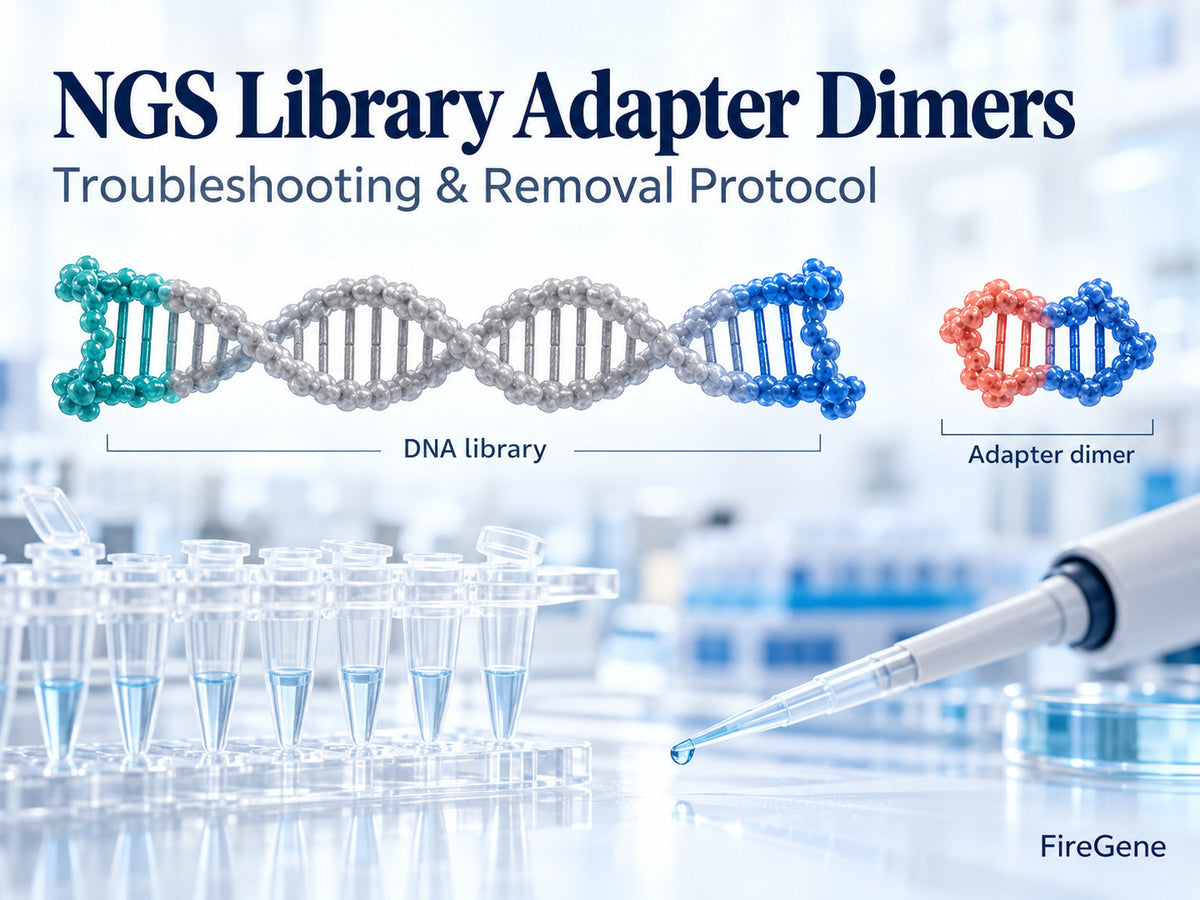
Effective NGS adapter dimer removal starts with identifying the adapter-associated peak, selecting a compatible cleanup procedure, and confirming the recovered library through fragment analysis and quantification. Matching these steps to your library design helps retain useful fragments and supports confident sequencing preparation. A practical troubleshooting process connects DNA input, adapter concentration, purification conditions, and final quality checks. Reviewing these factors together helps researchers choose an appropriate next step and establish repeatable preparation conditions. FireGene’s DNA library preparation products provide options for planning the upstream workflow. Combine the selected kit with documented purification conditions and application-specific quality criteria.
Quick Answer: Adapter dimers are adapter-containing molecules formed without the intended insert. Compatible bead cleanup or gel-based size selection can separate them from the desired library. Choose conditions according to adapter design, target library size, purification chemistry, and available material.
Related FireGene Products for NGS Workflow Planning
Begin product selection by matching the preparation approach to your sample, input amount, and sequencing application.
|
FireGene product |
Catalog number |
Listed application or feature |
Purchasing considerations |
|
FG-0206 |
DNA library preparation with a listed input range of 10 ng–1 µg |
Request current instructions, adapter requirements, recommended purification reagents, and availability |
|
|
FG-0208 |
Non-amplification construction of paired-end or multiplexed DNA libraries |
Confirm input requirements, compatible adapters, cleanup conditions, pack sizes, and pricing |
These products support DNA library preparation. Current instructions and component lists establish the cleanup reagents supplied or required separately. Request documented conditions for your intended library and sample type. firegene.com
What Are Adapter Dimers in NGS Libraries?
During next-generation sequencing library preparation, adapters provide sequences required for downstream processing and sequencing. The intended molecule contains a sample-derived insert together with the appropriate adapter structure. Their expected size depends on the adapter architecture and preparation workflow. Understanding the difference between adapter-only products and insert-containing molecules helps researchers interpret library traces and select suitable purification conditions.
Adapter Dimers vs. Primer Dimers and Free Adapters
These terms describe different molecular species.
|
Molecular species |
General description |
Useful assessment |
|
Adapter dimer |
Adapter-containing molecule without the intended insert |
Compare the expected adapter-only size with the observed peak |
|
Primer dimer |
Product arising from primer interactions |
Interpret using primer design and amplification chemistry |
|
Free adapter |
Adapter remaining outside the intended library molecule |
Review the purification stage and assay characteristics |
|
Desired library |
Intended insert with the required adapter structure |
Assess target size distribution and usable concentration |
Interpret each species according to the kit design. Molecules containing the complete sequencing-adapter structure are particularly relevant to final library assessment.

How to Detect Adapter Dimers Before Sequencing
Fragment analysis provides information about the sizes present in a library. A suitable Bioanalyzer, TapeStation, or Fragment Analyzer assay can help identify an adapter-associated population. Choose an assay that covers the expected size range and accommodates the sample concentration.
Compare the Peak With Your Library Design
Start with the expected adapter-only size and intended insert-containing library range. For many Illumina workflows, adapter dimers appear around 120–170 bp, with the exact position depending on adapter design. Other sequencing workflows can produce different adapter-associated sizes. Interpret a small peak alongside the kit instructions, assay markers, and expected library profile.

Combine Sizing With Library Quantification
Sizing and quantification answer complementary questions. Fragment analysis describes size distribution. Fluorometric measurement estimates DNA concentration. A library-qPCR assay measures molecules carrying its target sequences, with interpretation determined by the assay design. Together, these methods provide a useful basis for NGS library QC. A concentration measurement becomes more meaningful when the desired library population is clearly characterized.
Causes of Adapter Dimers in Library Preparation
An effective review follows the preparation process from starting DNA to final purification.
Match Adapter Input to Available DNA
Use the adapter concentration and dilution recommended for the measured DNA input. Accurate quantification helps establish suitable reaction conditions. Record the DNA amount, adapter dilution, and reaction volume so successful conditions can be repeated. For low-input material, follow the kit’s application-specific recommendations.
Match the Method to Sample Characteristics
Genomic DNA, FFPE-derived DNA, fragmented material, and short-insert samples have different preparation requirements. Choose an NGS library preparation workflow with documented suitability for the starting material. Assess sample quality and expected fragment distribution before reaction setup.
Standardize Purification Handling
Bead mixing, liquid-transfer accuracy, binding conditions, washing, and elution contribute to consistent library purification. Record actual sample volumes and reagent lots. A brief preparation checklist helps operators reproduce the documented procedure across batches.
NGS Library Adapter Dimers Troubleshooting Table
|
Observation |
What to review |
Practical next step |
|
Small peak near the expected adapter-only size |
Adapter design, assay markers, and expected library profile |
Confirm the peak assignment before selecting cleanup |
|
Adapter-associated peak after purification |
Actual volumes, bead mixing, buffer conditions, and specified ratio |
Review records and select a compatible repeat-cleanup procedure |
|
Desired library contains short fragments |
Separation between adapter-only and target molecules |
Use conditions qualified for the intended size range |
|
Limited library available |
Usable concentration, volume, and expected recovery |
Discuss a suitable recovery strategy with the supplier or sequencing core |
|
Similar profile across several samples |
Shared reagents, adapter dilution, input measurements, and handling |
Review common preparation variables |
|
Improved profile after cleanup |
Target-region recovery and final concentration |
Compare the recovered library with submission requirements |
This approach connects each observation with a specific check and a measurable outcome.
Adapter Dimer Removal Protocol for NGS
The following framework organizes a removal workflow. Use the selected kit and purification reagent instructions for exact volumes, incubation times, washing conditions, and elution settings.
Step 1: Record the Starting Library Profile
Save the original electropherogram and document the library kit, adapter design, concentration, and volume. Mark the expected adapter-only region and desired library size range. Include the intended sequencing platform and its submission requirements. These records establish a useful baseline for comparison.
Step 2: Define the Library Fragments to Retain
Specify the intended total library size, including adapters. A short insert can produce a total library molecule relatively close to the adapter-dimer region. This relationship influences the separation required during cleanup. Clearly defining the retained fraction helps align purification with the experiment.
Step 3: Select Compatible Bead Conditions
SPRI beads support size-dependent DNA binding under specified chemical conditions. The bead-to-sample ratio contributes to this process alongside sample composition and reagent chemistry.
For a documented ratio:
Bead volume = sample volume × specified bead ratio
For example, a 50 µL sample at 0.8× requires 40 µL of bead suspension.
This example explains the calculation. Select the actual ratio using the validated procedure for your reagent and library.
Manufacturer guidance describes repeat-cleanup examples around 0.8×–1×, with the appropriate conditions depending on the target distribution and adapter-dimer abundance.
Step 4: Perform the Documented Cleanup
Prepare the beads, combine them with the sample, allow binding, separate magnetically, wash, and elute according to the reagent instructions. Confirm which fraction contains the intended library at each stage. This is especially useful in procedures involving sequential binding steps. Record the recovered volume for yield calculations.
Step 5: Repeat Fragment Analysis and Quantification
Assess the recovered library using suitable sizing and quantification methods. Compare the adapter-associated region, intended library distribution, and total recovered material with the starting profile. Use the sequencing platform and core facility’s acceptance criteria to guide submission.

Bead Cleanup vs. Gel-Based DNA Size Selection
Both approaches can support adapter dimer removal when they provide the required separation.
|
Consideration |
Bead-based cleanup |
Gel-based size selection |
|
Selection approach |
Size-dependent binding under specified conditions |
Physical separation followed by recovery of a chosen region |
|
Workflow fit |
Practical for many routine and batch workflows |
Useful when a defined selection window is important |
|
Main qualification point |
Recovery across the intended fragment range |
Resolution and recovery of the selected fraction |
|
Handling requirements |
Accurate volumes and consistent bead preparation |
Suitable separation and extraction procedure |
|
Final assessment |
Fragment profile and recovered usable library |
The same application-relevant QC endpoints |
Choose the method that provides the required DNA size selection and sufficient material for the planned sequencing application.
Special Considerations for Short-Insert and Low-Input Libraries
Short-insert libraries benefit from careful selection planning because desired molecules may lie close to adapter-only products.
Preserve Relevant Short Fragments
For cfDNA, small-RNA, and other short-fragment applications, use workflow-specific guidance. Assess both adapter-associated signal and recovery of the intended library region. Successful purification supports the fragment population needed for the experiment. A clearly defined target range also helps suppliers recommend relevant cleanup conditions.
Plan Recovery for Precious Samples
When material is limited, evaluate the expected benefit of another cleanup alongside the amount required for sequencing. Some documented workflows support pooled repeat purification for low-input samples. Apply this option where compatible with the indexing scheme, pooling plan, and kit instructions.
How to Confirm Successful Adapter Dimer Removal
A useful outcome combines suitable library composition with sufficient recovered material.
Review Four Post-Cleanup Measurements
|
Measurement |
Information provided |
|
Adapter-associated region |
Whether the small-fragment population meets relevant criteria |
|
Intended library distribution |
Whether target molecules remain represented |
|
Recovered concentration and volume |
How much material is available |
|
Sequencing submission criteria |
Whether the sample fits the planned workflow |
Use consistent region boundaries when comparing traces. Record whether a reported percentage represents mass, molarity, or another software-defined measurement. Consistent definitions improve comparisons between samples and laboratories.
Calculate Recovery Using Total Amount
Pair concentration with volume when calculating recovery.
For example, a hypothetical library containing 2 ng/µL in 50 µL contains 100 ng total DNA. After cleanup, 3 ng/µL in 20 µL represents 60 ng, giving 60% total-DNA recovery.
Assessing recovery of the desired library requires evaluating the intended size region separately. These illustrative numbers explain the calculation.

Support Consistent Future Library Preparation
Use successful conditions to build a repeatable preparation record. Measure input DNA appropriately, apply documented adapter dilutions, and standardize purification handling. Include sample type, reagent lots, operators, and QC results. Where amplification forms part of the workflow, follow the kit’s cycle-selection recommendations. These records support focused troubleshooting and consistent sequencing quality control across future batches.
What to Request Before Ordering
Provide your sample type, DNA input, intended insert range, adapter system, and sequencing platform when contacting a supplier.
Request:
- Current library-kit instructions and component lists.
- Compatible purification reagents.
- Recommended cleanup and size-selection conditions.
- Application-relevant input requirements.
- Available quality documentation.
- Pack sizes, pricing, availability, and lead time.
When comparing cleanup products, including AMPure XP beads or other SPRI-based reagents, evaluate compatibility using the intended procedure. Reagent-specific documentation supports informed selection and workflow qualification.
Why Choose FireGene for NGS Workflow Planning?
FireGene offers rapid and non-amplification DNA library-preparation options, with product inquiry forms for discussing technical and purchasing requirements. Researchers can explore the DNA-Seq Library Preparation collection and review upstream options within the Nucleic Acid Extraction and Purification catalog. Share your sample details and QC profile when requesting information. A focused inquiry connects product selection with input suitability, adapter requirements, purification planning, and current availability.
Frequently Asked Questions
How do you remove adapter dimers from NGS libraries?
Use a compatible bead-cleanup or gel-based size-selection procedure, then repeat fragment analysis and quantification. Select conditions that retain the intended library.
What causes adapter dimers in library preparation?
Relevant factors include available input material, adapter balance, sample compatibility, and cleanup performance. Reviewing these variables helps identify an appropriate adjustment.
How can I detect adapter dimers before sequencing?
Compare a suitable fragment-analysis trace with the expected adapter-only size and intended library distribution. Interpret the profile according to the kit design.
Which bead ratio should I use for adapter dimer removal?
Use the ratio documented for your preparation workflow and purification reagent. Target fragment sizes and sample conditions influence the suitable selection.
Can another cleanup improve my library?
A compatible repeat cleanup can improve library composition. Confirm its value through the recovered fragment profile and available usable material.
Does qPCR replace fragment analysis?
These methods provide complementary information. Interpret qPCR according to assay design and use fragment analysis to assess size distribution.
What should I include in a FireGene inquiry?
Include the sample type, DNA input, adapter system, desired library range, sequencing platform, and relevant QC results. Request current pricing, availability, and documented compatibility.
Conclusion
Effective adapter dimer removal combines accurate identification, compatible purification, and clear post-cleanup quality checks. Matching the procedure to the intended library size helps retain useful fragments and supports confident sequencing preparation. Review the recovered distribution, concentration, and total yield against sequencing requirements. Consistent records make successful conditions easier to repeat. Explore FireGene DNA Library Preparation Kits to compare available workflows, or request current pricing and compatible cleanup guidance for your sample and research application.


