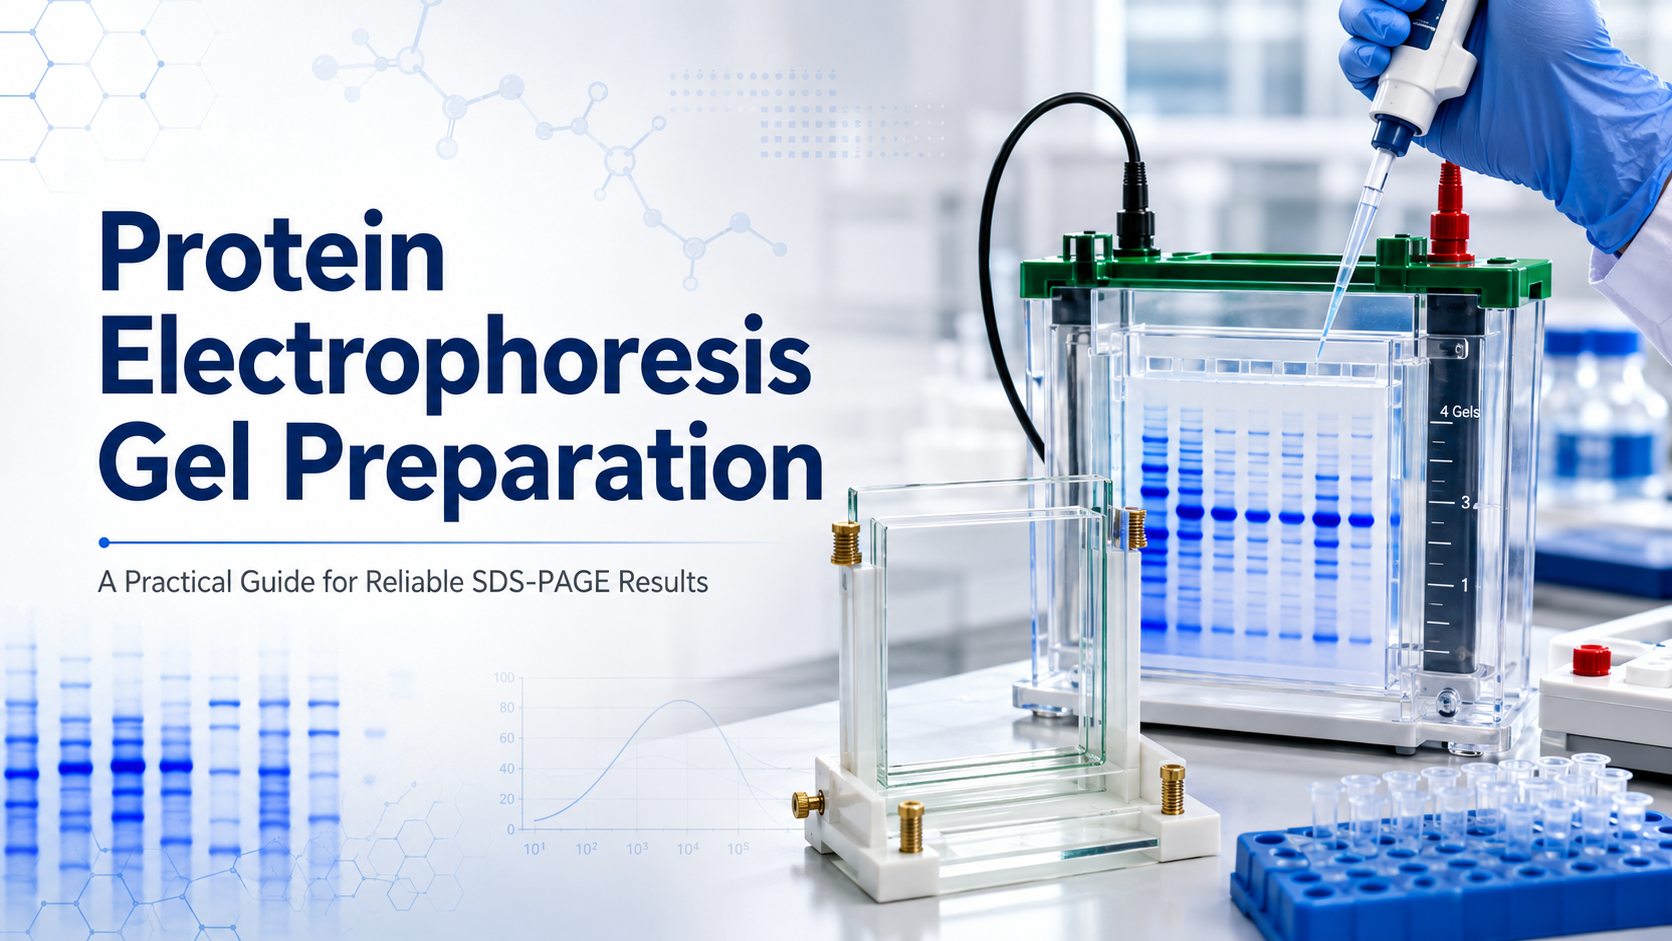
Protein electrophoresis gel preparation is a fundamental step in molecular biology, biochemistry, and biomedical research. Whether the goal is to analyze protein expression, verify purification efficiency, prepare samples for Western blotting, or compare protein molecular weights, a well-prepared polyacrylamide gel is essential for obtaining clear, reproducible, and interpretable results. Among the most widely used techniques, SDS-PAGE, or sodium dodecyl sulfate-polyacrylamide gel electrophoresis, remains the standard method for separating proteins according to molecular weight.
Although commercial precast gels are convenient, many laboratories still prepare protein electrophoresis gels in-house because homemade gels offer flexibility in gel percentage, sample capacity, buffer system, and experimental design. Understanding how to prepare a protein electrophoresis gel correctly can significantly improve band resolution, reduce experimental variation, and prevent common issues such as distorted bands, incomplete polymerization, smiling patterns, or poor sample stacking.
What Is a Protein Electrophoresis Gel?
A protein electrophoresis gel is typically made from polyacrylamide, a crosslinked polymer matrix formed by the polymerization of acrylamide and bis-acrylamide. In SDS-PAGE, proteins are treated with SDS, an anionic detergent that denatures proteins and gives them a relatively uniform negative charge. As a result, when an electric field is applied, proteins migrate through the gel primarily based on their molecular size.
The gel acts like a molecular sieve. Smaller proteins move more easily through the pores of the polyacrylamide network, while larger proteins migrate more slowly. By adjusting the acrylamide concentration, researchers can control the pore size of the gel and optimize separation for proteins of different molecular weights.
Stacking Gel and Resolving Gel: Why Two Layers Are Used
A standard SDS-PAGE gel consists of two layers: the stacking gel and the resolving gel.
The stacking gel, usually prepared at 4%–5% acrylamide, has a relatively large pore size and a lower pH, commonly pH 6.8. Its purpose is not to separate proteins but to concentrate them into a narrow, sharp band before they enter the resolving gel. This stacking effect improves resolution and helps ensure that proteins start migrating through the resolving layer at the same time.
The resolving gel, also called the separating gel, is usually prepared at a higher acrylamide concentration, such as 8%, 10%, 12%, or 15%, with a pH of approximately 8.8. This layer performs the actual protein separation. The appropriate resolving gel percentage depends mainly on the molecular weight range of the target proteins.
Choosing the Right Gel Percentage
Selecting the correct resolving gel concentration is one of the most important decisions in protein electrophoresis gel preparation. A lower percentage gel has larger pores and is better for high-molecular-weight proteins. A higher percentage gel has smaller pores and provides better resolution for low-molecular-weight proteins.
For proteins larger than 100 kDa, a 6%–8% gel is often suitable. For proteins between 50 and 100 kDa, an 8%–10% gel is commonly used. For proteins in the 20–50 kDa range, a 10%–12% gel usually provides good separation. For proteins between 10 and 20 kDa, a 12%–15% gel is recommended. Very small peptides or proteins below 10 kDa may require a higher percentage gel or a specialized system such as Tricine-SDS-PAGE.
For general Western blot experiments where the target protein size is not extremely large or small, 10% or 12% SDS-PAGE gels are commonly used because they provide balanced separation across a broad protein size range.
Common Reagents Used in Protein Electrophoresis Gel Preparation
Several key reagents are required for preparing SDS-PAGE gels. Acrylamide and bis-acrylamide provide the gel matrix. Tris-HCl buffer controls the pH of the stacking and resolving gels. SDS maintains protein denaturation and charge uniformity. Ammonium persulfate, commonly abbreviated APS, initiates free-radical polymerization. TEMED accelerates the polymerization reaction by promoting free-radical formation from APS.
Because acrylamide is toxic before polymerization, it should always be handled carefully. Gloves, a lab coat, and eye protection are recommended. Any acrylamide-containing waste should be disposed of according to institutional laboratory safety guidelines.
Example Formula for a 10% Resolving Gel
A typical 10 mL preparation of 10% resolving gel may include 30% acrylamide/bis-acrylamide solution, 1.5 M Tris-HCl at pH 8.8, 10% SDS, deionized water, freshly prepared 10% APS, and TEMED. APS and TEMED should always be added last because polymerization begins immediately after they are introduced.
A common 10 mL 10% resolving gel formulation includes approximately 3.3 mL of 30% acrylamide/bis solution, 2.5 mL of 1.5 M Tris-HCl pH 8.8, 100 μL of 10% SDS, 4.0 mL of deionized water, 100 μL of 10% APS, and 4 μL of TEMED. After gentle mixing, the gel solution should be poured quickly between the assembled glass plates.
Example Formula for a 5% Stacking Gel
A typical 5 mL preparation of 5% stacking gel may include 0.83 mL of 30% acrylamide/bis solution, 0.63 mL of 1.0 M Tris-HCl pH 6.8, 50 μL of 10% SDS, 3.4 mL of deionized water, 50 μL of 10% APS, and 5 μL of TEMED.
As with the resolving gel, APS and TEMED should be added last. After mixing, the stacking gel is poured over the polymerized resolving gel, and a comb is inserted to form wells for sample loading.
Step-by-Step Protein Gel Preparation Procedure
The first step is to clean and assemble the glass plates. Proper assembly is important because even a small leak can cause uneven gel thickness or complete failure of the gel. Once the gel cassette is secured, the resolving gel solution is prepared. APS and TEMED are added immediately before pouring.
The resolving gel is poured to the desired height, leaving enough space at the top for the stacking gel. A thin layer of isopropanol, ethanol, or deionized water is then carefully added on top of the resolving gel solution. This overlay creates a flat gel surface and prevents oxygen from inhibiting polymerization.
After the resolving gel polymerizes, usually within 20–40 minutes at room temperature, the overlay liquid is removed. The top of the gel is rinsed gently with deionized water, and any remaining liquid is absorbed using filter paper. The stacking gel solution is then prepared, poured over the resolving gel, and the comb is inserted carefully to avoid bubbles.
After the stacking gel polymerizes, the comb can be removed, and the wells should be rinsed with running buffer. The gel is then ready for sample loading and electrophoresis.
Important Tips for Better SDS-PAGE Gel Quality
Fresh APS is critical for successful polymerization. Old or degraded APS is one of the most common causes of soft gels, slow polymerization, or complete failure to solidify. TEMED should also be used at the correct volume because too little may delay polymerization, while too much may cause rapid polymerization and affect gel uniformity.
Avoid vigorous mixing after APS and TEMED are added, as excessive bubbles can interfere with gel formation and sample migration. Gentle but thorough mixing is preferred. The glass plates should be clean and free from detergent residue, dust, or protein contamination, as these can affect gel surface quality and band shape.
The gel percentage should match the target protein size. Using a gel that is too dense for a large protein can lead to poor migration, while using a gel with pores that are too large for small proteins can result in poor resolution or bands running off the gel.
Troubleshooting Common Gel Preparation Problems
If the gel does not polymerize, the most likely reasons include expired APS, missing TEMED, incorrect buffer pH, contaminated reagents, or oxygen exposure. Preparing fresh APS and verifying the pH of Tris buffers often solves this problem.
If protein bands are curved or distorted, possible causes include uneven gel polymerization, overheating during electrophoresis, incorrect buffer concentration, or overloading of protein samples. Running the gel at an appropriate voltage and using fresh electrophoresis buffer can improve band quality.
If bands are broad or poorly stacked, the stacking gel may have been prepared incorrectly, or the sample buffer may not be compatible with the gel system. Improper well formation, residual unpolymerized acrylamide, or salt contamination in samples may also affect stacking performance.
Homemade Gels vs. Precast Gels
Both homemade and precast protein electrophoresis gels have advantages. Precast gels save time, improve convenience, and reduce exposure to unpolymerized acrylamide. However, homemade gels are cost-effective and allow researchers to customize gel concentration, thickness, well number, and buffer conditions. For laboratories that frequently perform SDS-PAGE or Western blotting, mastering protein electrophoresis gel preparation remains a valuable and practical skill.
Conclusion
Protein electrophoresis gel preparation is more than a routine laboratory step. It directly determines the quality of SDS-PAGE separation and influences downstream applications such as Coomassie staining, silver staining, and Western blot analysis. By choosing the correct gel percentage, using fresh reagents, preparing the stacking and resolving gels properly, and avoiding common technical errors, researchers can achieve sharp, consistent, and reliable protein bands.
A well-prepared SDS-PAGE gel provides the foundation for accurate protein analysis. Whether used in academic research, pharmaceutical development, biotechnology, or diagnostic assay development, proper protein gel preparation continues to be an essential technique for modern life science laboratories.
FireGene, light your research with passion, innovation, and profession.


