A single-cell suspension is a preparation in which individual cells are separated from tissue, culture, blood, or thawed samples into a uniform liquid suspension for downstream analysis. Reducing cell clumping is essential because clean, well-dispersed cells support better cell counting, cell isolation, flow cytometry, single-cell sequencing, cell culture, molecular biology assays, and quality control workflows. In many labs, thoughtful sample preparation, gentle handling, DNase I treatment, and tissue-matched dissociation strategies can greatly improve cell recovery and workflow reliability.
How Do You Reduce Cell Clumping in a Single-Cell Suspension?
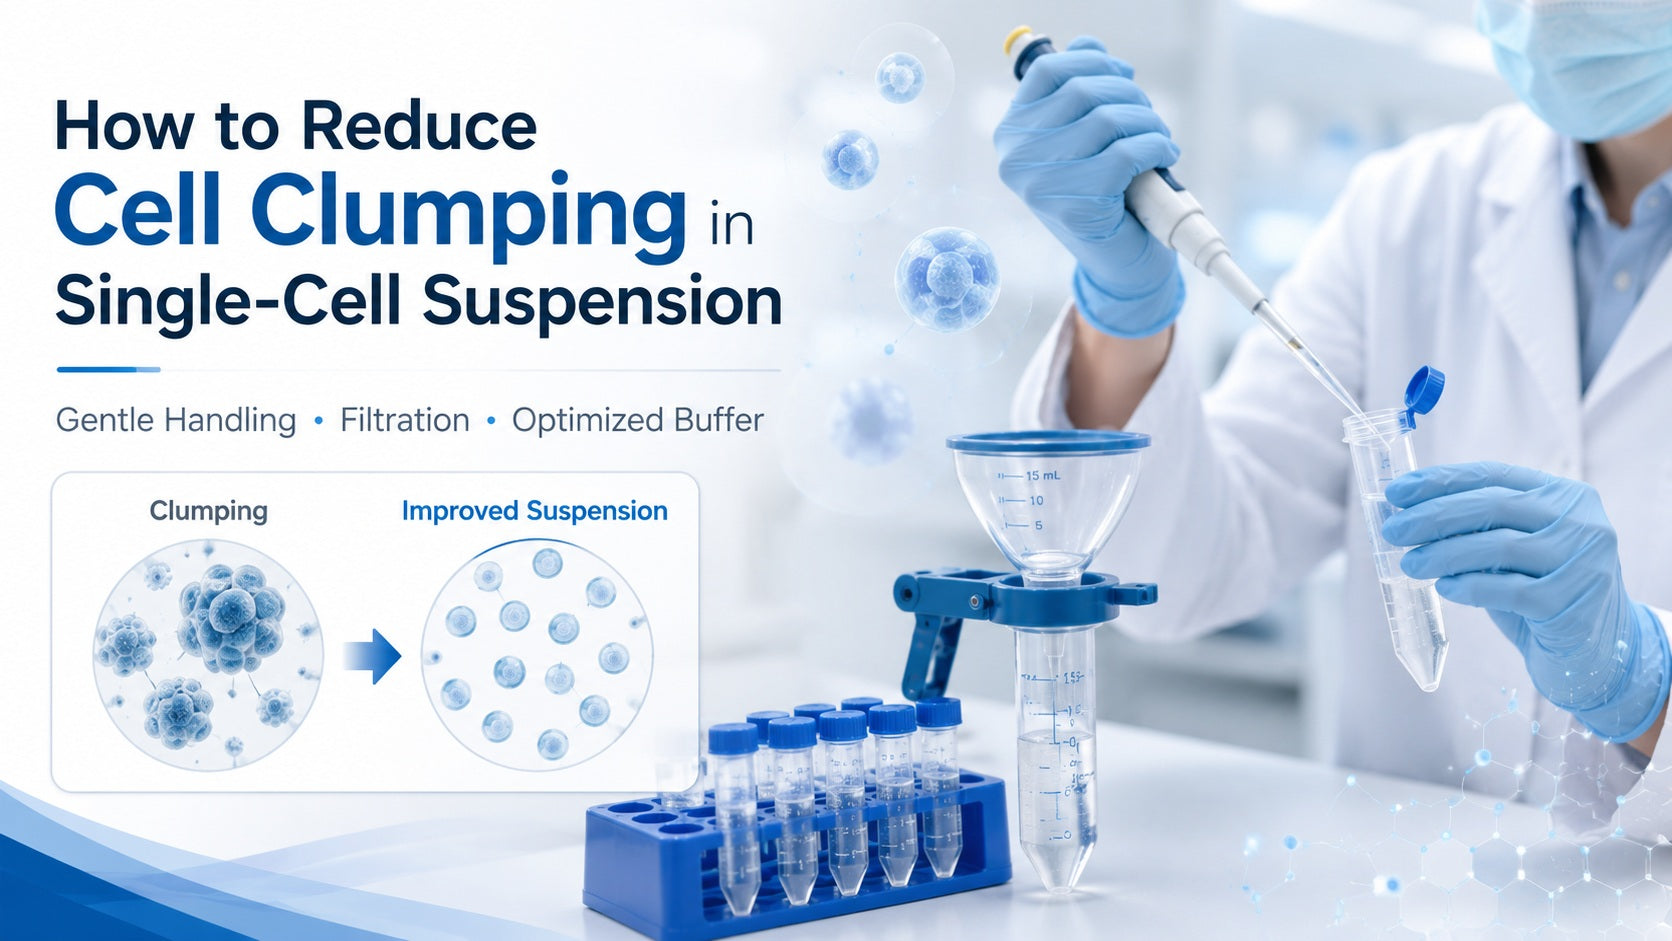
To reduce cell clumping in a single-cell suspension, use gentle dissociation, control digestion time, keep cells in a suitable buffer, remove debris, filter the suspension, avoid harsh pipetting, and consider DNase I treatment when extracellular DNA is present. Clumping often increases when stressed, damaged, or lysed cells release sticky DNA and debris. For tissue samples, choosing the right tissue dissociation kit and cleanup workflow helps create a more uniform suspension for downstream applications.
What Is Cell Clumping in a Single-Cell Suspension?
Cell clumping occurs when individual cells aggregate into clusters instead of remaining evenly suspended. In single-cell workflows, clumps can form after enzymatic tissue dissociation, freeze-thaw stress, over-digestion, mechanical handling, high cell density, or cell damage. A common contributor is extracellular DNA released from lysed cells. This DNA can behave like a sticky network, bringing cells and debris together into visible aggregates.
In molecular biology and cell analysis workflows, clumping is especially important because many downstream platforms are designed to process individual cells, not clusters. A cleaner single-cell suspension can support more accurate cell counting, improved cell recovery, smoother cell isolation, and better preparation for single-cell sequencing or flow-based analysis.
Why Does Cell Clumping Matter in Modern Lab Workflows?
Cell clumping matters because sample quality influences every step that follows. A suspension with fewer aggregates is easier to count, dilute, stain, sort, load, and analyze. For single-cell RNA sequencing, a uniform suspension helps researchers prepare cells at the intended concentration. For flow cytometry and cell sorting, reducing clumps can support smoother instrument handling and clearer population analysis. For diagnostics, biotech, pharma, and academic laboratories, reliable sample preparation helps improve workflow efficiency and assay consistency.
Clumping can also affect decisions made during quality control. If cells are unevenly distributed, counts and viability measurements may be less representative of the sample. By improving sample handling before the downstream assay begins, labs can build more confidence into their research applications.
Key Applications That Benefit from Reduced Cell Clumping
Single-Cell Sequencing
Single-cell sequencing workflows depend on clean suspensions with well-separated cells or nuclei. Tissue dissociation, dead cell removal, debris cleanup, and gentle resuspension are central to preparing samples for scRNA-seq or snRNA-seq.
Flow Cytometry and Cell Sorting
Flow cytometry and sorting require cells to pass through fluidics as individual events. Proper filtration, buffer selection, and controlled cell density help create a smoother workflow.
Cell Culture and Cell-Based Assays
Cell culture experiments benefit from evenly suspended cells because uniform distribution supports consistent seeding, staining, stimulation, and downstream molecular biology analysis.
Nucleic Acid Extraction, PCR, qPCR, and NGS Library Preparation
Although extraction workflows can process bulk material, cleaner sample preparation can support better consistency before nucleic acid extraction, PCR, qPCR, or NGS library preparation. When cell isolation is part of the upstream process, reducing clumps helps create a more representative input.
Quality Control and Diagnostic Applications
In QC or diagnostic research settings, predictable sample handling, clear documentation, and fit-for-purpose reagents support dependable workflow performance.
What Causes Cell Clumping During Tissue Dissociation or Cell Isolation?
Cell clumping usually comes from a combination of biological material, handling conditions, and buffer chemistry. Understanding the cause helps labs choose the right solution.
Common contributors include:
- Extracellular DNA from damaged or lysed cells
- Tissue fragments and extracellular matrix material
- Overly harsh mechanical dissociation
- Over-digestion or enzyme conditions that stress fragile cells
- Incomplete removal of debris or dead cells
- High cell concentration during resuspension
- Thawing stress in cryopreserved samples
- Buffer conditions that are not ideal for the cell type or downstream method
A positive workflow approach is to identify the highest-impact cause and adjust one variable at a time. This makes optimization easier to document and repeat.
Step-by-Step Workflow: How to Reduce Cell Clumping in Single-Cell Suspensions
Step 1: Start With a Tissue-Appropriate Dissociation Strategy
Different tissues require different dissociation approaches. Soft tissues may need shorter or milder digestion, while fibrotic, muscle, skin, tumor, gastrointestinal, or brain samples may benefit from tissue-specific enzymatic tissue dissociation. The goal is to release cells efficiently while preserving cell quality.
When choosing a dissociation method, consider:
- Tissue type and extracellular matrix density
- Fresh, preserved, or cryopreserved sample format
- Desired cell population
- Downstream application, such as scRNA-seq, flow cytometry, or cell culture
- Digestion temperature and timing
- Mechanical processing intensity
For buyers, this is where tissue dissociation kits can simplify planning by providing application-focused reagents and protocols.
Step 2: Use Gentle Mechanical Handling
Mechanical stress can contribute to cell damage and debris formation. Use smooth pipetting, avoid unnecessary vortexing, and choose the right pipette tip size for cell suspensions. For delicate cells, wide-bore tips or gentle trituration may support better recovery. A helpful rule is to mix enough to create a uniform suspension, but not so much that fragile cells are stressed. Consistency between operators is especially important in lab teams.
Step 3: Add DNase I When Extracellular DNA Is Contributing to Clumps
DNase I is commonly used to digest extracellular DNA released from damaged cells. In cell isolation and tissue dissociation workflows, DNase I treatment can help reduce sticky DNA-mediated aggregation and support a more uniform suspension.
A practical DNase I protocol for cell suspensions should consider:
- DNase I concentration recommended by the workflow or supplier
- Compatible buffer conditions
- Temperature and incubation time
- Whether DNase I is used during dissociation, after dissociation, or during washing
- Compatibility with downstream assays
- Whether additional washing is needed before final analysis
Because protocols vary by tissue, cell type, and downstream application, labs should follow the specific kit instructions or validated internal SOP.
Step 4: Remove Debris and Dead Cells When Needed
Dead cells and debris can contribute to aggregation and interfere with downstream analysis. Cleanup steps may include low-speed centrifugation, debris removal, reagents, dead cell removal, red blood cell lysis for blood-rich tissues, or nuclei isolation when whole-cell recovery is challenging. For single-cell sequencing, sample cleanup can be especially useful when working with fragile tissues, cryopreserved samples, or dissociation methods that produce visible debris.
Step 5: Filter the Suspension Before Counting or Loading
Filtering through an appropriate cell strainer helps remove larger aggregates and tissue fragments. Many workflows use 40 µm or 70 µm strainers depending on cell size, tissue type, and downstream platform. Filtration is often performed near the end of preparation, before counting, staining, sorting, or loading.
Step 6: Optimize Cell Concentration and Buffer Conditions
Very concentrated cell suspensions can encourage cells to interact and aggregate. Diluting to the recommended concentration and using a suitable buffer can support a more stable suspension. Buffers often include protein carriers such as BSA or serum, depending on the application, while EDTA may help reduce calcium-dependent aggregation when compatible with the workflow.
Step 7: Handle Thawed Cells With Care
To prevent cell clumping after thawing, use a controlled thawing and recovery workflow. Warm and dilute cells according to the protocol, remove cryoprotectant when appropriate, and minimize the time cells spend under stressful conditions. DNase I treatment may be helpful How to Choose the Right Kit, Reagent, or Workflow Solution
The best workflow choice depends on sample type, downstream application, and the reason cells are clumping. A tissue-specific kit may be helpful for complex tissues, while universal dissociation approaches may suit screening or pilot studies. DNase I, debris removal, and buffer selection should be matched to the application.
|
Workflow Challenge |
Practical Consideration |
Useful Product Category |
|
Tissue is dense or fibrotic |
Use tissue-matched enzymatic digestion and controlled mechanical handling |
Tissue Dissociation Kits |
|
Suspension contains sticky aggregates |
Consider DNase I treatment for extracellular DNA |
Single Cell Sequencing Sample Preparation |
|
Sample has high debris |
Add debris or dead cell removal steps |
|
|
Cells clump after thawing |
Use gentle thawing, dilution, washing, and DNase I if suitable |
Cell Isolation and Sample Prep Reagents |
|
Downstream method is scRNA-seq |
Prioritize viability, low debris, accurate counts, and uniform suspensions |
Single Cell Sequencing Sample Preparation |
|
Downstream method is PCR/qPCR or NGS |
Preserve nucleic acid quality and minimize inhibitors |
Nucleic Acid Extraction and Purification / NGS Library Prep Kits |
Important Factors to Consider Before Buying
Before purchasing a kit or reagent for single-cell suspension preparation, lab teams should evaluate the complete workflow rather than one step alone.
Consider these questions:
- What tissue or sample type will be processed?
- Is the sample fresh, frozen, preserved, or cryopreserved?
- Is the goal whole-cell recovery, nuclei isolation, or a specific cell population?
- Will the downstream application be single-cell sequencing, flow cytometry, cell sorting, culture, PCR, qPCR, or NGS library preparation?
- Is DNase I included or needed separately?
- Are debris removal or dead cell cleanup steps required?
- What cell recovery, viability, and purity targets are realistic for the sample type?
- Does the workflow need endotoxin-aware reagents or QC documentation for regulated research settings?
These buyer-focused questions help labs choose reagents that support the actual application.
How FireGene Supports Reliable Research Workflows
FireGene supports life science and molecular biology workflows with product areas that align with sample preparation, tissue dissociation, single-cell sequencing, nucleic acid extraction, PCR/qPCR, NGS library preparation, molecular diagnostics, endotoxin testing, and general research reagents.
For clumping-focused workflows, researchers can connect single-cell sequencing sample preparation with tissue dissociation kits, debris removal, nuclei isolation, and downstream molecular biology reagents. This workflow view helps labs move from tissue input to cleaner cell suspensions and then into sequencing, assay development, or QC-related research.
FAQs
What is the main cause of cell clumping in a single-cell suspension?
A common cause of cell clumping is extracellular DNA released from damaged or lysed cells. This DNA can create sticky aggregates that trap cells and debris. Tissue fragments, high cell density, harsh handling, and thawing stress can also contribute.
How does DNase I reduce cell clumping?
DNase I reduces cell clumping by digesting extracellular DNA in the suspension. When sticky DNA is broken down, cells are more likely to remain evenly dispersed. DNase I treatment should be used under buffer and incubation conditions compatible with the cell type and downstream workflow.
When should DNase I be added during cell isolation?
DNase I may be added during tissue dissociation, after dissociation, or during washing, depending on the protocol. The best timing depends on tissue type, amount of extracellular DNA, enzyme compatibility, and downstream applications such as single-cell sequencing or flow cytometry.
How can I prevent cell clumping after thawing?
To prevent cell clumping after thawing, use a controlled thawing workflow, dilute cells gently, remove cryoprotectant when appropriate, avoid harsh pipetting, use a compatible buffer, and consider DNase I treatment when extracellular DNA is present.
What type of filter should I use for single-cell suspensions?
The filter size depends on cell type and downstream application. Many workflows use 40 µm or 70 µm cell strainers to remove aggregates and tissue fragments. Larger or fragile cells may require workflow-specific optimization.
Conclusion:
Reducing cell clumping in a single-cell suspension starts with understanding the sample. Tissue type, digestion conditions, extracellular DNA, thawing history, buffer composition, and cell concentration all influence suspension quality. DNase I treatment can help when sticky extracellular DNA contributes to aggregation, while tissue-specific dissociation, debris removal, filtration, and gentle handling support better cell recovery. By choosing workflow-matched reagents and documenting each step, labs can create more consistent samples for single-cell sequencing, flow cytometry, cell isolation, nucleic acid extraction, PCR, qPCR, and NGS library preparation.


